Installing Effective Radon Mitigation Systems
- candyellestad
- Apr 28
- 3 min read
Radon is a silent threat that can affect the safety of any building. It is a naturally occurring radioactive gas that seeps into homes and businesses through cracks and openings in the foundation. Because radon is invisible and odorless, the only way to know if it is present at dangerous levels is through testing. Once detected, installing an effective radon mitigation system is essential to protect the health of everyone inside. In this post, I will walk you through the key steps and considerations for installing radon mitigation systems that work.
Understanding Radon Mitigation Systems
Radon mitigation systems are designed to reduce radon gas concentrations inside buildings. The most common and effective method is called sub-slab depressurization. This system uses a fan and piping to draw radon gas from beneath the foundation and vent it safely outside, away from windows and air intakes.
There are several types of radon mitigation systems, including:
Active sub-slab depressurization: A fan actively pulls radon from under the slab.
Passive sub-slab systems: Rely on natural air flow without a fan, less effective.
Drain tile suction: Uses existing drainage systems to vent radon.
Crawl space ventilation: Increases air flow in crawl spaces to reduce radon levels.
Choosing the right system depends on the building’s design, foundation type, and radon levels. A professional radon test will help determine the best approach.
Key Steps in Installing Radon Mitigation Systems
Installing a radon mitigation system involves several important steps to ensure it works effectively and safely. Here is a clear outline of the process:
Conduct a thorough radon test: Before installation, measure radon levels using short-term or long-term testing kits.
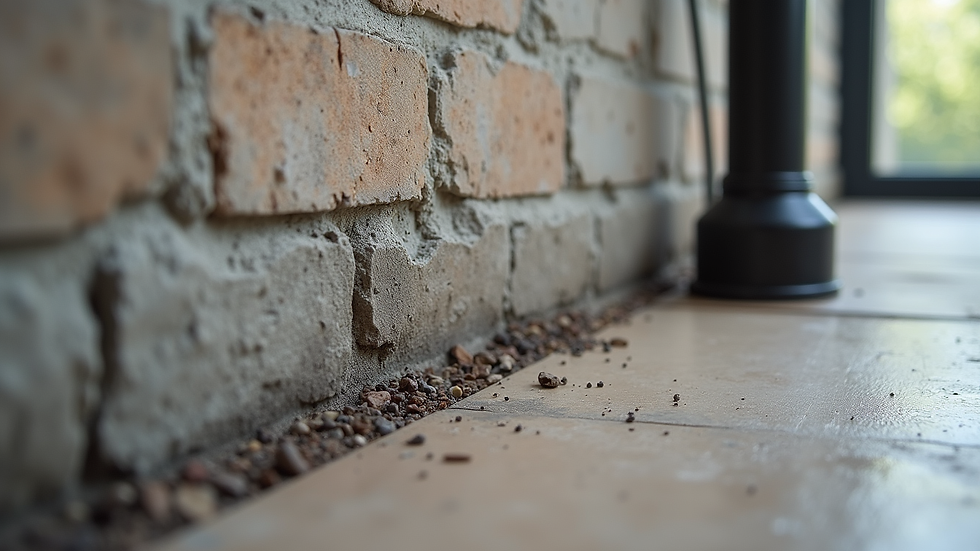
Inspect the foundation: Identify cracks, gaps, and openings where radon may enter.
Seal foundation openings: Use caulk or sealant to close cracks and gaps to improve system efficiency.
Install suction point(s): Drill holes in the slab or foundation to insert pipes that will draw radon gas.
Set up vent pipe and fan: Connect pipes to a fan that vents radon outdoors, typically through the roof.
Ensure proper venting location: The exhaust point should be away from windows, doors, and air intakes.
Test the system: After installation, retest radon levels to confirm the system’s effectiveness.
Maintain the system: Regularly check the fan and pipes for damage or blockages.
Each step requires attention to detail and adherence to safety standards. Hiring a certified radon professional can help ensure the system is installed correctly.
Common Challenges and How to Overcome Them
Installing radon mitigation systems can sometimes present challenges. Here are some common issues and practical solutions:
Limited access to the foundation: In some buildings, accessing the slab or crawl space is difficult. Using crawl space ventilation or alternative suction points can help.
High radon levels: If radon levels remain high after installation, additional suction points or sealing may be necessary.
Noise from the fan: Choosing a quiet fan model and installing vibration dampeners can reduce noise.
Aesthetic concerns: Pipes and fans can be painted or placed discreetly to blend with the building exterior.
Weather exposure: Ensure vent pipes are weatherproofed to prevent damage.
Addressing these challenges early in the planning phase can save time and improve system performance.
Why Professional Installation Matters
While some homeowners may consider DIY radon mitigation, professional installation offers significant advantages:
Accurate assessment: Professionals use specialized equipment to measure radon levels and identify entry points.
Customized solutions: They design systems tailored to the building’s unique structure and radon profile.
Compliance with regulations: Certified installers follow local and national guidelines to ensure safety.
Quality assurance: Professionals provide warranties and ongoing support.
Peace of mind: Knowing the system is installed correctly reduces health risks.
If you want to ensure your radon mitigation system is effective and reliable, investing in expert installation is the best choice. For those interested, you can learn more about mitigation system installation services that meet high standards.
Maintaining Your Radon Mitigation System for Long-Term Safety
Installing the system is just the beginning. To keep radon levels low over time, regular maintenance is essential. Here are some tips to maintain your radon mitigation system:
Check the fan operation: Listen for unusual noises and ensure the fan is running continuously.
Inspect vent pipes: Look for cracks, disconnections, or blockages.
Monitor radon levels: Conduct periodic radon tests every 2 years or after major renovations.
Seal new cracks: Over time, foundations may develop new openings that need sealing.
Keep records: Maintain documentation of installation, tests, and maintenance activities.
By staying proactive, you can protect your building’s occupants from radon exposure for years to come.
Radon mitigation systems are a vital investment in health and safety. With the right knowledge and professional support, you can effectively reduce radon levels and create a safer indoor environment. Whether you are dealing with a new construction or an existing building, taking action now will provide peace of mind and long-term protection.


Comments