Understanding the Process of Radon System Installation
Radon is a naturally occurring radioactive gas that can seep into homes and buildings through cracks and openings in the foundation. It is colorless, odorless, and tasteless, making it difficult to detect without proper testing. Prolonged exposure to high levels of radon can pose serious health risks, including lung cancer. That is why understanding the process of radon system installation is crucial for anyone looking to protect their property and loved ones.
In this post, I will walk you through the key steps involved in installing a radon mitigation system. I will explain what you can expect during the process, how the system works, and why professional installation is important. Whether you are a homeowner or a business owner in Minnesota, this guide will help you make informed decisions about radon safety.
What Is Involved in Radon System Installation?
Radon system installation is a specialized process designed to reduce radon levels inside a building. The goal is to prevent radon gas from accumulating by venting it safely outside. Here’s a breakdown of the typical steps involved:
Initial Radon Testing
Before installation, a certified radon test is performed to measure radon levels. This helps determine if mitigation is necessary and guides the design of the system.
Site Inspection and Planning
A professional inspects the building’s foundation, basement, and crawl spaces to identify entry points for radon. They also assess the best location for the vent pipe and fan.
Drilling and Pipe Installation
A small hole is drilled into the foundation slab or floor to access the soil beneath. PVC pipes are installed to create a suction point that draws radon gas from under the building.
Fan Installation
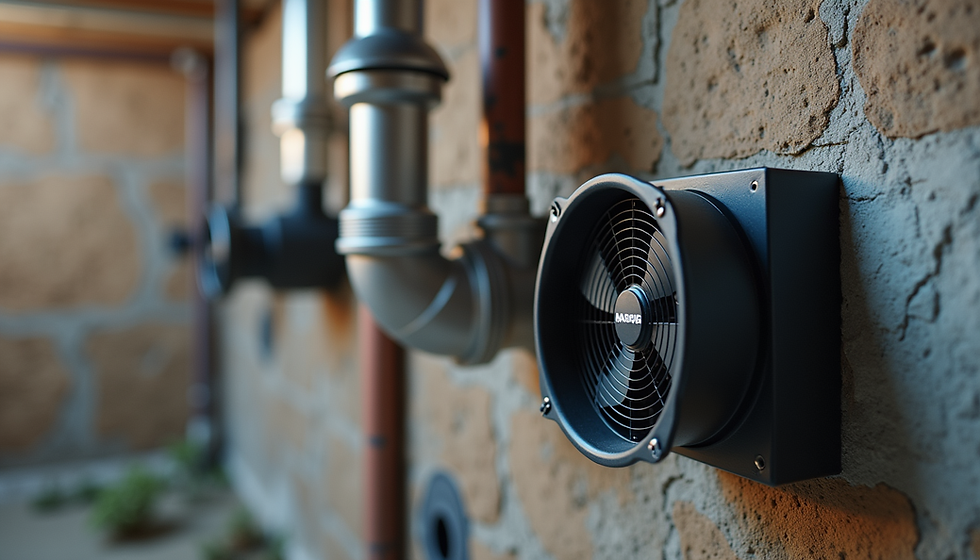
A radon fan is installed, usually in the attic or outside, to create continuous suction. This fan pulls radon gas from beneath the foundation and vents it safely above the roofline.
Sealing Entry Points
Cracks and openings in the foundation and walls are sealed to improve system efficiency and prevent radon from entering the building.
System Testing and Monitoring
After installation, the system is tested to ensure it is working correctly. Long-term radon testing may be recommended to monitor levels over time.
This process typically takes a few hours to complete, depending on the size and complexity of the building.

Why Professional Radon System Installation Matters
While some homeowners might consider DIY solutions, professional radon system installation is highly recommended. Here’s why:
Expertise and Experience
Certified radon professionals understand the science behind radon movement and how to design effective systems tailored to each building.
Proper Equipment
Professionals use specialized tools and high-quality materials to ensure the system is durable and efficient.
Compliance with Regulations
Radon mitigation must meet local and state guidelines. Professionals ensure your system complies with Minnesota’s safety standards.
Accurate Testing and Verification
Certified installers conduct thorough testing before and after installation to confirm radon levels are reduced to safe limits.
Warranty and Support
Many professional services offer warranties and ongoing support, giving you peace of mind.
By choosing a professional, you reduce the risk of ineffective mitigation and ensure your property is protected long-term.
What's the average cost to install a radon mitigation system?
Understanding the cost of radon system installation is important for budgeting and planning. The price can vary based on several factors:
Size and Type of Building
Larger homes or commercial buildings may require more extensive systems, increasing costs.
Foundation Type
Homes with basements, crawl spaces, or slab-on-grade foundations may have different installation requirements.
System Complexity
Some buildings need multiple suction points or additional sealing, which can add to the price.
Location and Accessibility
The ease of access to the foundation and roof can affect labor time and cost.
On average, radon mitigation systems in Minnesota typically cost between $1,600 and $2,500. This price usually includes testing, installation, and post-installation verification. While it might seem like a significant investment, it is a small price to pay for the health and safety benefits.
To get an accurate estimate, it’s best to contact a certified radon mitigation professional who can assess your specific situation.

How Does a Radon Mitigation System Work?
A radon mitigation system works by reducing radon gas concentrations inside a building. The most common method is called sub-slab depressurization. Here’s how it functions:
The system creates a vacuum beneath the building’s foundation by using a fan connected to a pipe inserted through the slab or floor.
This vacuum draws radon gas from the soil before it can enter the building.
The radon gas is then vented safely above the roofline, where it disperses harmlessly into the atmosphere.
Sealing cracks and openings in the foundation helps prevent radon from entering and improves the system’s efficiency.
This method is effective because it addresses the source of radon entry rather than just filtering the air inside. It is a proactive approach that significantly lowers radon levels and reduces health risks.
Maintaining Your Radon Mitigation System
Once your radon system is installed, proper maintenance is key to ensuring it continues to work effectively. Here are some tips:
Regular Testing
Conduct radon tests every 2 years or after any major home renovations to check that levels remain low.
Fan Operation Check
Make sure the radon fan is running continuously. Some systems have alarms or indicators to alert you if the fan stops.
Visual Inspections
Periodically inspect the pipes and seals for damage or cracks. Repair any issues promptly.
Professional Inspections
Schedule a professional inspection every few years to verify system performance and make adjustments if needed.
By staying proactive, you can maintain a safe indoor environment and protect your family or employees from radon exposure.
Taking the Next Step for a Safer Environment
Understanding the process of mitigation system installation is the first step toward creating a healthier indoor space. Radon is a serious concern, but with the right system in place, you can significantly reduce the risks.
If you suspect radon in your home or business, don’t wait. Contact a certified radon professional to schedule testing and discuss your options. Investing in a quality radon mitigation system is an investment in your health and peace of mind.
Remember, radon safety is achievable with the right knowledge and professional support. Take action today to ensure your property is protected for years to come.

Comments