Understanding Radon Mitigation Systems: What You Need to Know
Radon is a naturally occurring radioactive gas that can seep into buildings through cracks and openings in the foundation. It is colorless, odorless, and tasteless, making it impossible to detect without proper testing. Prolonged exposure to high radon levels can pose serious health risks, including lung cancer. That is why understanding radon mitigation systems is essential for anyone looking to protect their home or business.
Radon mitigation systems are designed to reduce radon levels indoors, making the air safer to breathe. In this post, I will walk you through the basics of radon mitigation systems, how they work, what to expect during installation, and practical advice on maintaining a safe environment.
What Are Radon Mitigation Systems and How Do They Work?
Radon mitigation systems are engineered solutions that reduce radon gas concentrations inside buildings. The most common type is the sub-slab depressurization system. This system works by drawing radon gas from beneath the building’s foundation and venting it safely outside, away from windows and air intakes.
Here’s a simple breakdown of how these systems function:
Suction Point: A small hole is drilled into the concrete slab or basement floor to access the soil beneath.
Piping: A PVC pipe is inserted into the hole and runs vertically to the roof or outside wall.
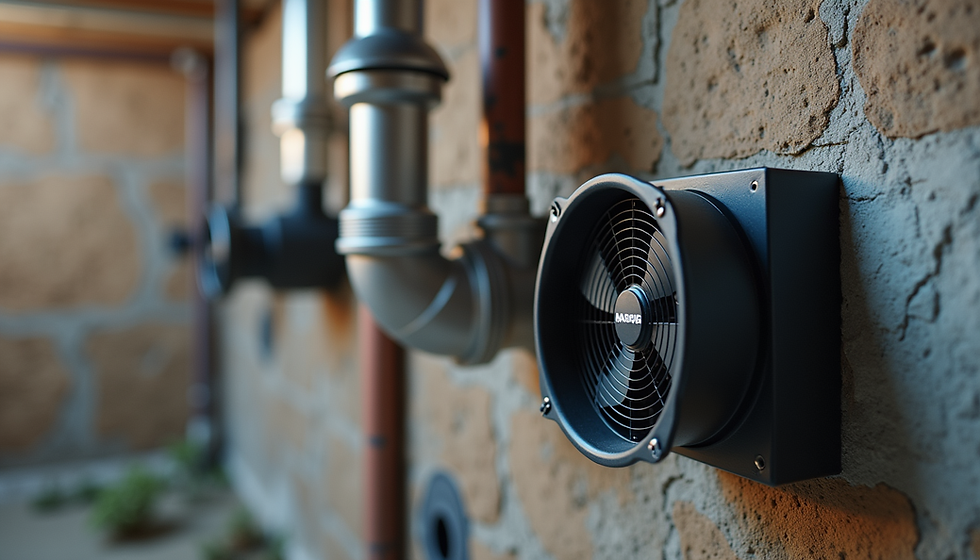
Fan: An inline fan creates suction, pulling radon gas from under the slab and pushing it outdoors.
Sealing: Cracks and openings in the foundation are sealed to prevent radon from entering the building.
This process effectively lowers indoor radon levels by preventing the gas from accumulating inside. The system runs continuously and requires minimal maintenance.
Why Radon Mitigation Systems Are Important in Minnesota
Minnesota is known for having higher radon levels compared to many other states. The geology and soil composition contribute to radon gas seeping into homes and businesses. Because radon exposure is the second leading cause of lung cancer after smoking, it is critical to address this issue proactively.
Radon mitigation systems provide peace of mind by:
Protecting health: Reducing radon exposure lowers the risk of lung cancer.
Increasing property value: Homes with radon mitigation systems are safer and more attractive to buyers.
Meeting regulations: Some local building codes and real estate transactions require radon testing and mitigation.
If you live or work in Minnesota, installing a radon mitigation system is a smart investment in safety and property protection.
What's the Average Cost to Install a Radon Mitigation System?
Understanding the cost of radon mitigation helps you plan your budget and make informed decisions. The price can vary depending on several factors, including the size of the building, foundation type, and system complexity.
On average, radon mitigation system installation costs range from $1,600 to $2,500. Here’s what influences the price:
Foundation Type: Homes with basements or slab-on-grade foundations may require different approaches.
System Type: Active systems with fans cost more than passive systems without fans.
Accessibility: Easier access to the foundation reduces labor costs.
Additional Repairs: Sealing cracks and other foundation repairs can add to the total.
While the upfront cost may seem significant, the long-term health benefits and potential increase in property value make it worthwhile.
What to Expect During a Radon Mitigation System Installation
When you decide to install a radon mitigation system, the process is straightforward but requires professional expertise. Here’s what typically happens:
Initial Inspection: A certified radon professional inspects your property to determine the best mitigation method.
System Design: Based on the inspection, a customized plan is created.
Installation: The technician drills a hole in the foundation, installs piping, mounts the fan, and seals entry points.
Testing: After installation, the system is tested to ensure radon levels have dropped to safe limits.
Follow-up: Periodic testing is recommended to maintain safety.
The entire installation usually takes a few hours to a day, depending on the complexity.
For those interested in learning more about the mitigation system installation, professional services can provide detailed guidance and support.

Maintaining Your Radon Mitigation System for Long-Term Safety
Once your radon mitigation system is installed, maintaining it is key to ensuring continued protection. Here are some practical tips:
Regular Testing: Test your home every 2 years or after major renovations.
Fan Operation: Check that the fan is running smoothly; a non-functioning fan means no radon reduction.
Visual Inspections: Look for cracks or damage to the piping and foundation.
Professional Checkups: Schedule inspections with a radon professional if you notice any issues.
Keeping your system in good working order helps maintain low radon levels and protects your indoor air quality.
Taking Action to Protect Your Indoor Air Quality
Radon is a silent threat, but it is manageable with the right knowledge and tools. Installing a radon mitigation system is a proactive step toward a healthier indoor environment. Whether you own a home or a business, understanding how these systems work and what to expect during installation empowers you to make informed decisions.
If you suspect radon might be an issue, start with testing. If elevated levels are found, don’t hesitate to seek professional help for mitigation. Remember, the goal is to create a safe space where you and your loved ones can breathe easy.
By staying informed and taking action, you contribute to a safer Minnesota community, free from the dangers of radon exposure.

Comments