Installing Effective Radon Mitigation Systems - A Radon Mitigation Guide
Radon is a silent threat that can affect the safety of any building. It is a naturally occurring radioactive gas that seeps into homes and businesses through cracks and openings in the foundation. Because radon is invisible and odorless, the only way to know if your property is at risk is through testing. Once high radon levels are detected, installing an effective radon mitigation system becomes essential to protect your indoor air quality and health.
In this radon mitigation guide, I will walk you through the key steps and considerations for installing a radon mitigation system. I will explain how these systems work, what to expect during installation, and how to maintain them for long-term safety. Whether you own a home or a business in Minnesota, this guide will help you understand how to reduce radon exposure effectively.
Understanding Radon and Why Mitigation Matters - Radon Mitigation Guide
Radon forms naturally when uranium in soil and rocks breaks down. It moves upward through the ground and can enter buildings through foundation cracks, gaps around pipes, or sump pits. Because radon is radioactive, prolonged exposure to high levels increases the risk of lung cancer. The Environmental Protection Agency (EPA) recommends action if radon levels exceed 4 picocuries per liter (pCi/L).
Mitigation systems work by reducing radon concentrations inside buildings. They do this by venting radon gas from beneath the foundation to the outside air, preventing it from entering living or working spaces. Without mitigation, radon can accumulate to dangerous levels, especially in colder climates like Minnesota where buildings are tightly sealed during winter.
Installing a radon mitigation system is a proactive step to ensure your indoor environment remains safe. It is a reliable and proven method to lower radon levels quickly and efficiently.

How Radon Mitigation Systems Work
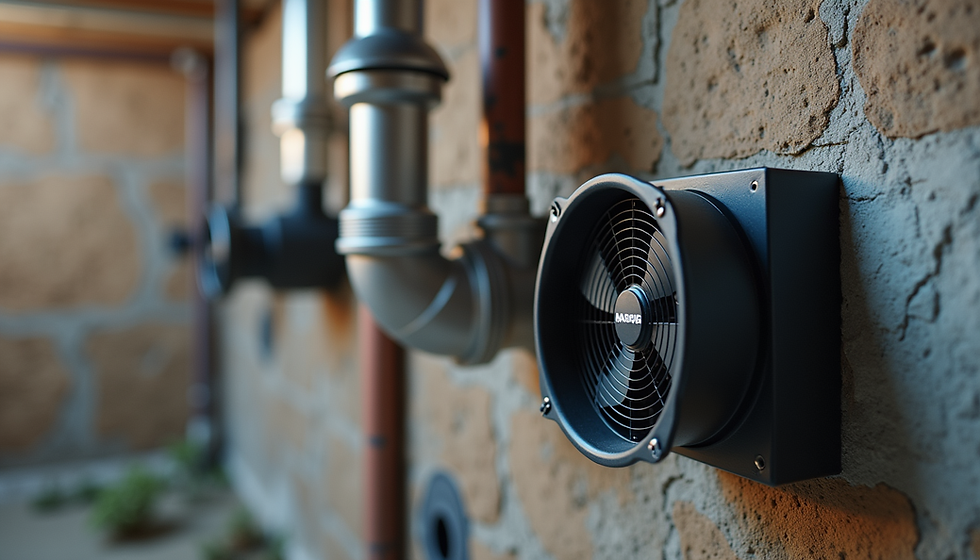
There are several types of radon mitigation systems, but the most common and effective is the sub-slab depressurization system. This system involves placing a pipe through the foundation slab into the soil or gravel beneath. A fan attached to the pipe creates suction, drawing radon gas from under the building and venting it safely above the roofline.
Here is a simple breakdown of the process:
Soil Gas Collection - A hole is drilled into the concrete slab or a suction point is created in the crawl space to access the soil gas.
Vent Pipe Installation - A PVC pipe is installed to carry the radon gas from beneath the foundation to the outside.
Fan Installation - A radon-rated fan is installed in the pipe line, usually in the attic or outside, to maintain continuous airflow.
Sealing Entry Points - Cracks and openings in the foundation are sealed to improve system efficiency.
System Testing - After installation, radon levels are tested again to confirm the system is working properly.
Other mitigation methods include sub-membrane depressurization for crawl spaces and block wall depressurization for homes with hollow block foundations. The choice depends on the building’s design and radon entry points.
What's the average cost to install a radon mitigation system?
The cost of installing a radon mitigation system varies depending on the size and type of building, foundation type, and system complexity. On average, homeowners in Minnesota can expect to pay between $1,600 and $2,500 for a professionally installed system.
Factors influencing cost include:
Foundation type: Slab-on-grade foundations are usually less expensive to mitigate than basements or crawl spaces.
System type: Sub-slab depressurization is the most common and cost-effective method.
Accessibility: Easier access to the foundation reduces labor costs.
Fan location: Installing the fan outside or in an attic may affect pricing.
Additional repairs: Sealing cracks and other foundation repairs can add to the total cost.
While the upfront cost may seem significant, it is a worthwhile investment in health and safety. Many homeowners find that the peace of mind and potential increase in property value justify the expense.
Steps to Prepare for a Radon Mitigation System Installation
Before the installation begins, there are several steps you can take to prepare your property and ensure a smooth process:
Schedule a professional radon test: Confirm radon levels with a certified tester to determine the need for mitigation.
Clear access to the foundation: Remove any obstacles around the foundation walls and basement or crawl space.
Discuss system options: Talk with your mitigation professional about the best system type for your building.
Plan for fan noise: Fans produce some noise, so consider where the fan will be installed to minimize disruption.
Understand maintenance needs: Ask about ongoing maintenance and monitoring to keep the system effective.
During the installation, the technician will drill into the foundation, install pipes and fans, and seal entry points. The work usually takes a few hours to a day, depending on the system complexity.

Maintaining Your Radon Mitigation System for Long-Term Safety
Installing the system is only the first step. To ensure your radon levels remain low, regular maintenance and monitoring are essential. Here are some tips to keep your system working effectively:
Check the fan regularly: The fan should run continuously. Listen for unusual noises or vibrations.
Monitor radon levels annually: Use a radon test kit or hire a professional to test your indoor air every year.
Inspect pipes and seals: Look for cracks, damage, or disconnections in the vent pipe.
Replace fans as needed: Fans typically last 5 to 10 years. Replace them promptly if they fail.
Keep vents clear: Ensure the outdoor vent pipe is not blocked by snow, debris, or plants.
If you notice a rise in radon levels, contact a mitigation professional immediately. Prompt action can prevent health risks and maintain a safe indoor environment.
For those interested in professional mitigation system installation, working with a certified expert ensures the job is done correctly and meets all safety standards.
Taking Action to Protect Your Indoor Air Quality
Radon is a serious health risk, but it is also manageable with the right knowledge and tools. Installing an effective radon mitigation system is a proven way to reduce radon levels and protect your family or employees. By understanding how these systems work, what to expect during installation, and how to maintain them, you can take confident steps toward a safer indoor environment.
If you suspect radon in your building or have tested high levels, don’t wait. Reach out to a qualified professional to discuss your options. With proper mitigation, you can breathe easier knowing your space is protected from this invisible threat.

Comments