Efficient Radon System Setup Explained
Radon is a silent threat that can affect the safety of any building. It is a naturally occurring radioactive gas that seeps into homes and businesses through cracks and openings in the foundation. Because radon is invisible and odorless, the only way to know if it is present at dangerous levels is through testing. Once detected, the next step is to reduce radon levels effectively. This is where an efficient radon system setup becomes essential.
In this post, I will walk you through the key aspects of radon system setup, how it works, what to expect during installation, and practical tips to ensure your space remains safe. My goal is to make this process clear and manageable, so you feel confident about protecting your property.
Understanding Radon System Setup
Radon system setup involves installing a system designed to reduce radon gas levels inside a building. The most common and effective method is called sub-slab depressurization. This technique uses a fan and piping to draw radon gas from beneath the foundation and vent it safely outside, away from windows and air intakes.
The process starts with a thorough radon test to determine the current radon levels. If the levels exceed the EPA recommended action level of 4 picocuries per liter (pCi/L), a mitigation system is necessary. The system typically includes:
A suction point drilled into the concrete slab or soil beneath the building.
PVC piping to channel the radon gas outdoors.
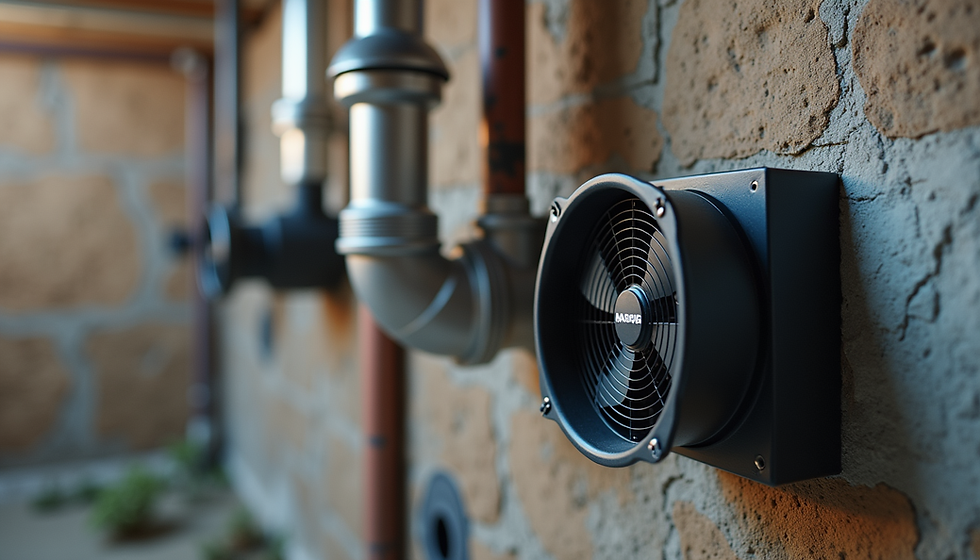
A continuously running fan to create negative pressure under the slab.
Sealing of cracks and openings to improve system efficiency.
This setup reduces radon concentrations inside the building by preventing the gas from entering living or working spaces.

Key Steps in Radon System Setup
When preparing for radon system setup, it helps to understand the main steps involved. This knowledge can make the process smoother and help you communicate effectively with your installer.
Initial Radon Testing
Before installation, a professional radon test is conducted. This test can be short-term (2-7 days) or long-term (90 days to 1 year). The results guide the need for mitigation.
Site Inspection and Planning
The installer inspects the building’s foundation, basement, and crawl spaces. They identify the best location for suction points and plan the routing of pipes to the outside.
Installation of Suction Point and Piping
A hole is drilled into the slab or soil to create a suction point. PVC pipes are installed to carry radon gas from beneath the foundation to the outside air.
Fan Installation
A radon fan is installed, usually in the attic, garage, or outside the building. The fan runs continuously to maintain negative pressure under the slab.
Sealing Entry Points
Cracks and openings in the foundation and walls are sealed to prevent radon from entering the building and to improve system efficiency.
Post-Installation Testing
After the system is installed, another radon test is performed to ensure the system is effectively reducing radon levels.
Throughout this process, clear communication with your installer is important. Ask questions about the system’s operation, maintenance needs, and expected results.
What's the average cost to install a radon mitigation system?
Understanding the cost of radon mitigation helps in planning and budgeting. The average cost to install a radon mitigation system varies depending on several factors:
Size and type of building: Larger buildings or those with complex foundations may require more extensive work.
Type of mitigation system: Sub-slab depressurization is the most common, but crawl space or sump pit systems may be needed in some cases.
Accessibility: Easy access to the foundation and attic or exterior walls can reduce labor costs.
Local labor rates: Costs vary by region and installer expertise.
On average, homeowners can expect to pay between $1,600 and $2,500 for a professionally installed radon mitigation system. This price usually includes testing before and after installation, the fan, piping, labor, and sealing.
While this may seem like a significant investment, it is a crucial step in protecting health and property. Radon exposure is linked to lung cancer, and reducing radon levels is a proven way to lower this risk.
How to Maintain Your Radon System for Long-Term Safety
Installing a radon system is not a one-time fix; it requires ongoing attention to ensure it continues to work effectively. Here are some practical tips for maintaining your radon system:
Keep the fan running continuously: The fan is the heart of the system. Turning it off even briefly can allow radon to build up again.
Monitor the system’s pressure: Many systems include a manometer or pressure gauge. Check it regularly to confirm the system is operating correctly.
Inspect pipes and seals: Look for cracks, disconnections, or damage to the piping and seals. Repair any issues promptly.
Schedule periodic radon testing: Test your home every 2-5 years or after major renovations to ensure radon levels remain low.
Replace the fan as needed: Radon fans typically last 5-10 years. When the fan shows signs of wear or failure, replace it promptly.
By following these steps, you can maintain a safe indoor environment and protect your investment in radon mitigation.
Why Professional Installation Matters
While some homeowners may consider DIY radon mitigation, professional installation is highly recommended. Here’s why:
Expertise and experience: Professionals understand the complexities of radon entry and can design a system tailored to your building.
Proper equipment: Certified installers use high-quality fans and materials designed specifically for radon mitigation.
Compliance with standards: Professionals ensure the system meets EPA guidelines and local building codes.
Accurate testing: Certified testers provide reliable radon measurements before and after installation.
Warranty and support: Professional services often include warranties and ongoing support for your system.
Choosing a trusted radon mitigation expert ensures your system is installed correctly and performs as intended. This peace of mind is invaluable when it comes to health and safety.
If you are ready to take action, consider contacting a certified professional for your mitigation system installation. They can guide you through the process and provide a customized solution.
Taking the Next Step Toward a Safer Environment
Radon is a serious health risk, but it is also manageable with the right approach. Efficient radon system setup is a proven way to reduce radon levels and protect your building’s occupants. By understanding the process, costs, and maintenance needs, you can make informed decisions and ensure your space remains safe.
Remember, testing is the first step. If radon levels are high, don’t delay in installing a mitigation system. With professional help and ongoing care, you can breathe easier knowing your environment is protected from radon’s dangers.
Taking action today means a healthier tomorrow.

Comments